
Employee
هذا المحتوى غير متوفر بلغتك بعد.
An individual who works part-time or full-time under a contract of employment, and has recognized rights and duties of your company is your Employee.
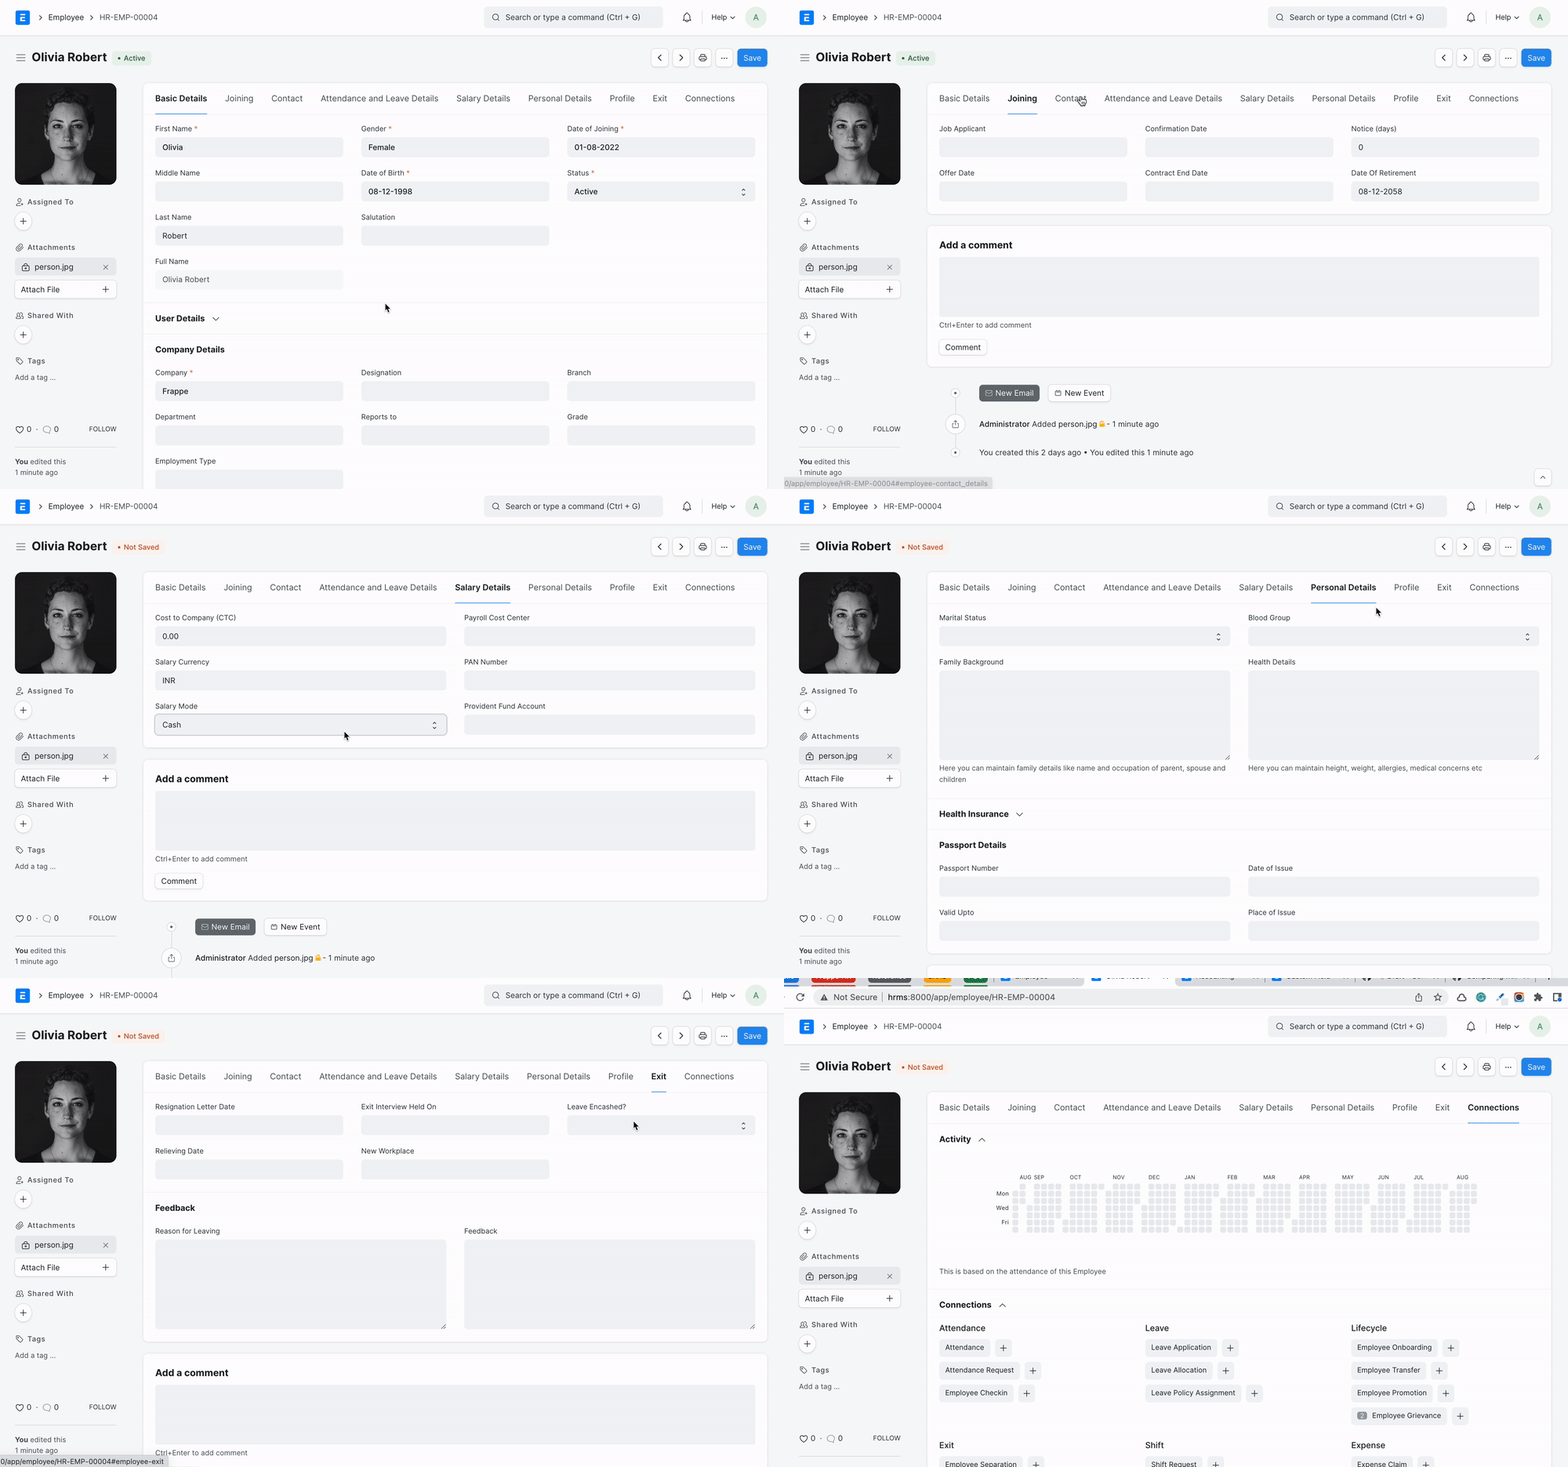
In Bravo Hub HR, you can manage the Employee master. It captures the demographic, personal, and professional details, joining and leave details, etc. of the Employee.
To access the Employee master, go to:
Home > Human Resources > Employee
1. Prerequisites
Section titled “1. Prerequisites”Before creating an Employee, it is advised to create the following:
2. How to create an Employee
Section titled “2. How to create an Employee”- Go to the Employee list, and click on New.
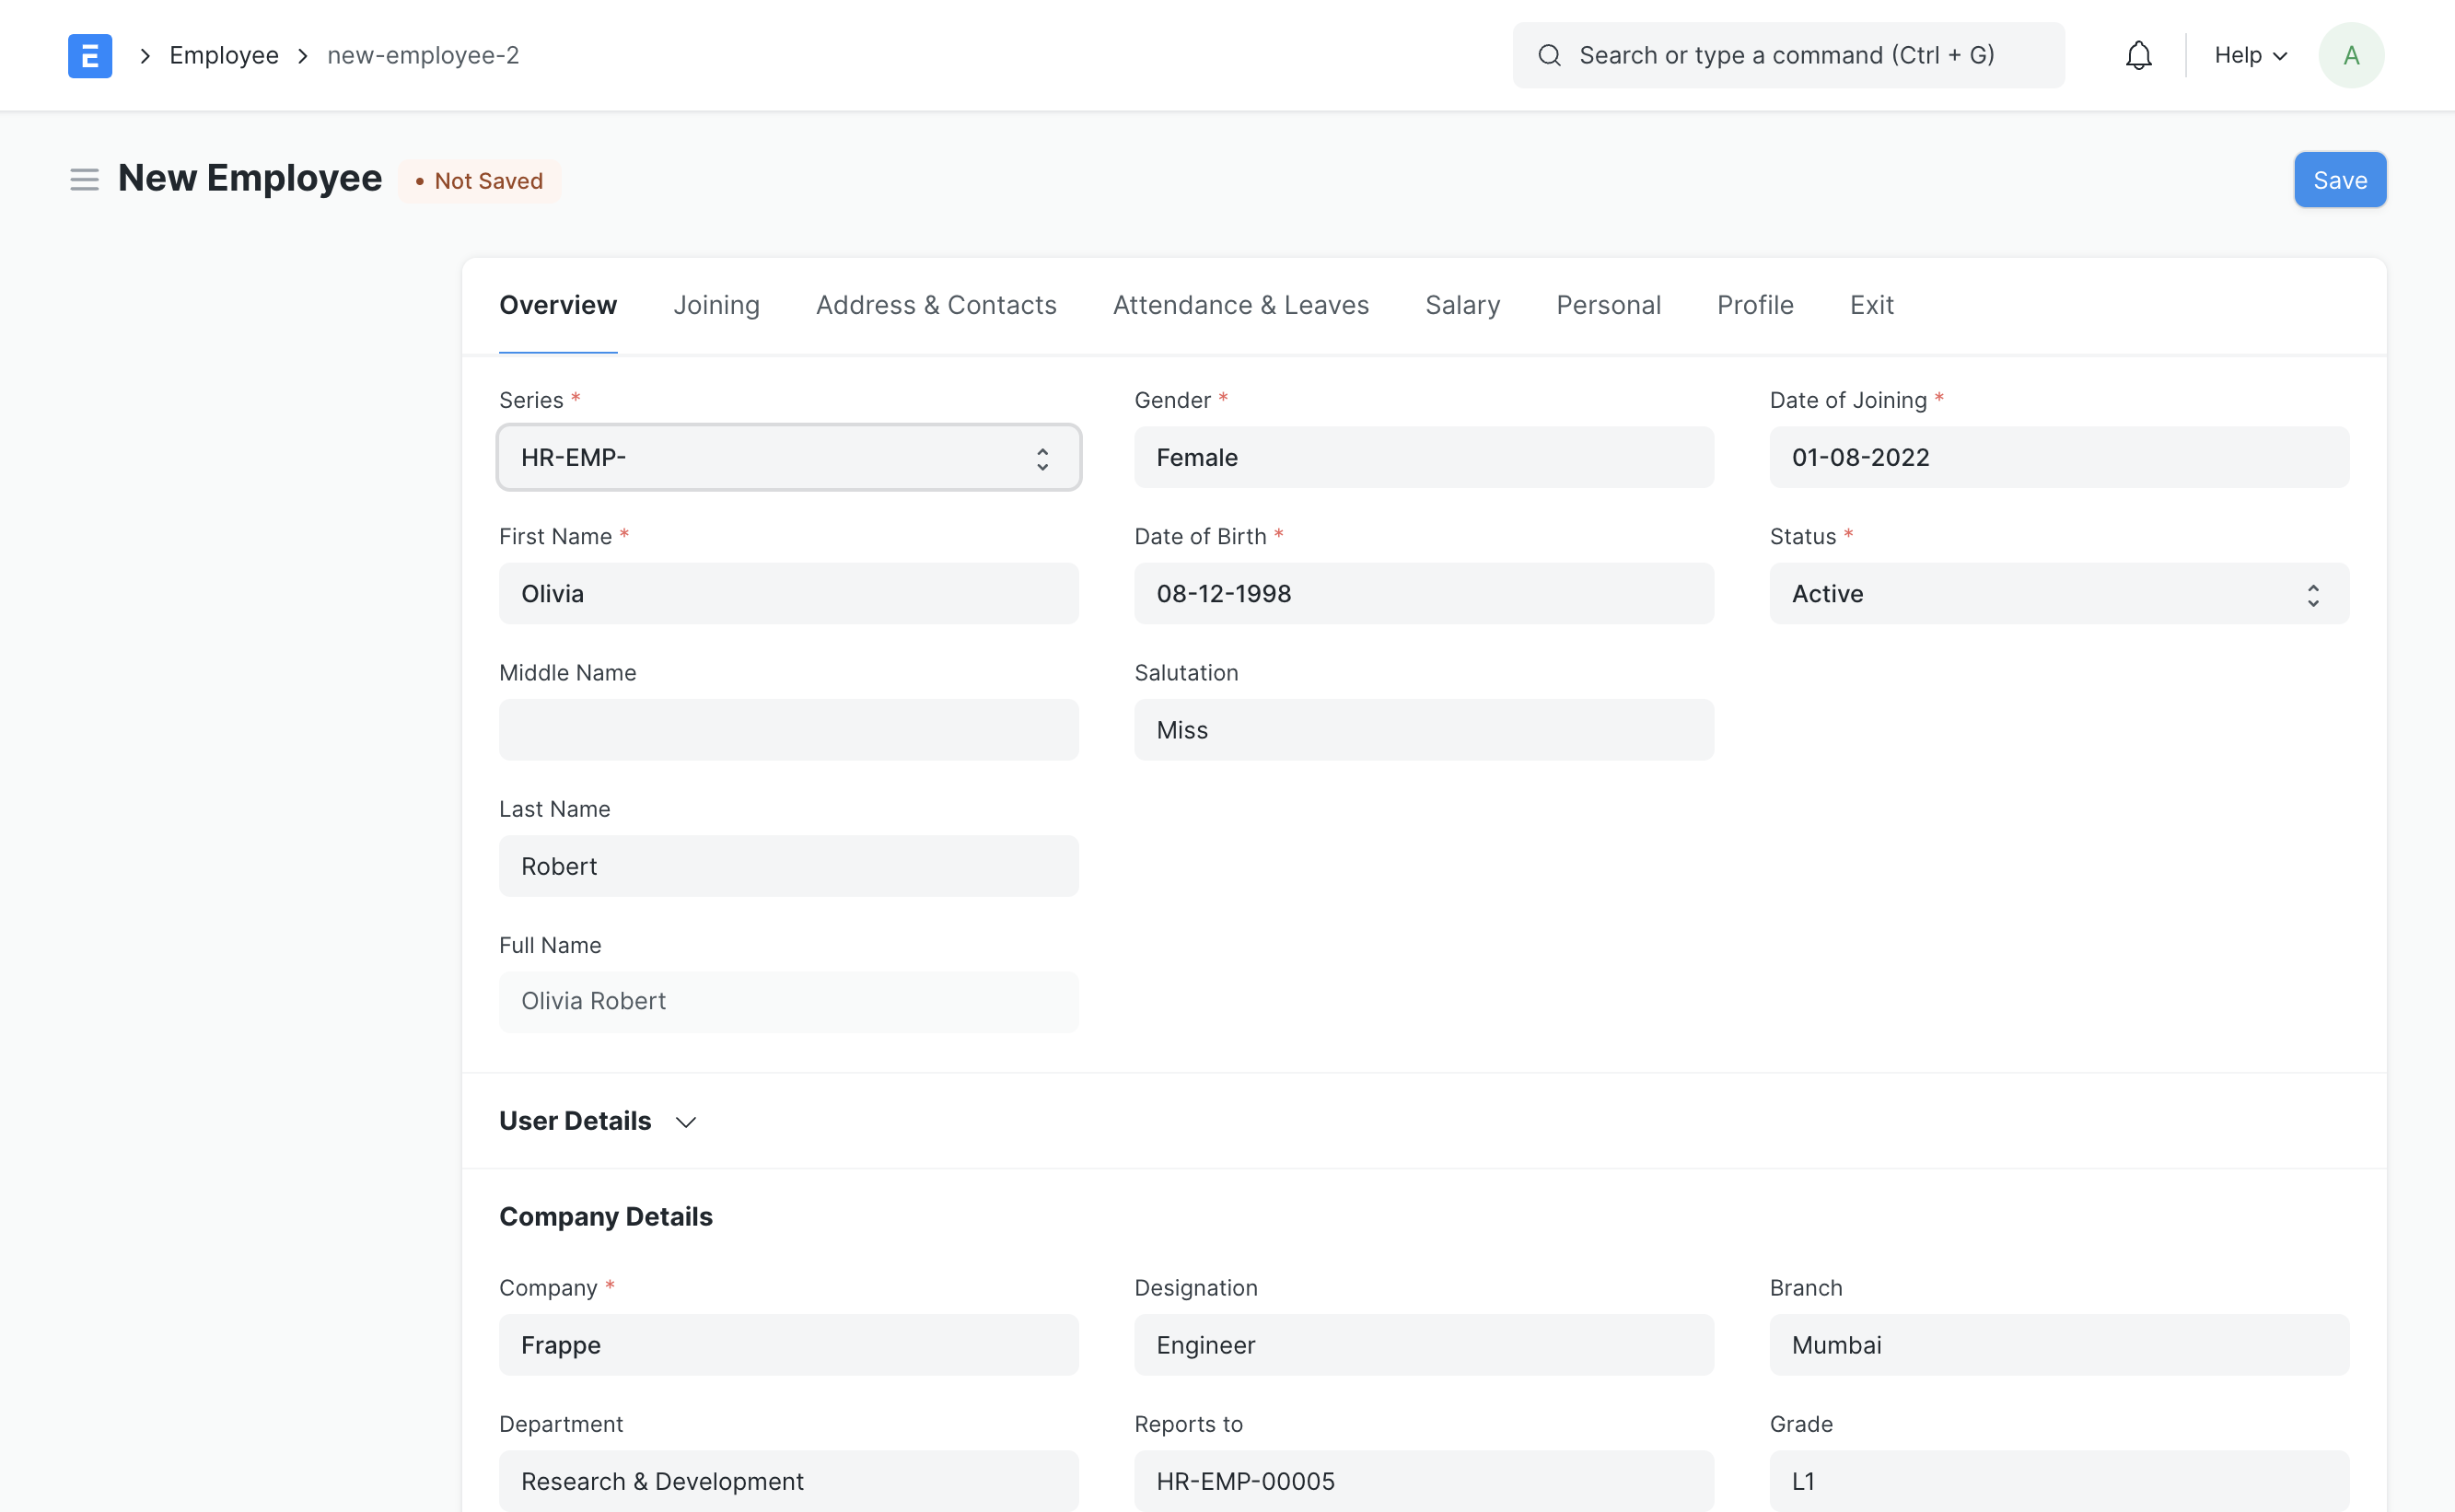
- Enter the Employee’s personal details such as Name, Gender, Date of Birth, and Date of Joining.
- Save.
As shown below, all the mandatory fields are marked with red asterisks.
2.1 Bulk Creation via Data Import
Section titled “2.1 Bulk Creation via Data Import”Multiple Employees can be created at once using the Data Import tool.
- Go to Data Import or click on Import from the top menu, then select Employee as the DocType.
- Download the template and fill in the required fields such as Employee Name, Company, and Date of Joining.
- Ensure that either the Company Email or Preferred Contact Email field is populated for each Employee if User creation is required.
- Upload the filled template and start the import.
Upon successful import, Employee records will be created for all valid rows.
Refer to the Data Import guide to learn more.
3. Features
Section titled “3. Features”Apart from the aforementioned mandatory details, some additional details that can be captured in the Employee master are as follows:
3.1 Employment Type
Section titled “3.1 Employment Type”You can set an Employment Type such as Intern, Contract, Full-time, Part-time, Probation, etc. for an Employee.
3.2 Create User
Section titled “3.2 Create User”The User ID can be linked to the Employee. User accounts can be created and associated with an Employee in different ways depending on your workflow.
Option 1: During Employee Creation (Automatic)
Section titled “Option 1: During Employee Creation (Automatic)”While creating a new Employee:
- Enable the Create User Automatically checkbox to create a User when saving the Employee.
- The Create User Permission checkbox is enabled by default. This ensures that the newly created User has access only to their own Employee record and associated Company.
- Ensure that either the Company Email or Preferred Contact Email field is populated.
Option 2: For Existing Employees (Via Button)
Section titled “Option 2: For Existing Employees (Via Button)”If an Employee is created without linking a User ID, a User can be created later from the Employee record:
- Click on the Create User button from the top actions menu.
- A dialog will appear with the Create User Permission option enabled by default. You can set or update the email in the dialog before creating the User.
- On confirmation, the system will create the User, assign the necessary permissions, and link it to the Employee.
Option 3: Via Data Import
Section titled “Option 3: Via Data Import”User accounts can also be created during Employee import by including the required fields in the import template:
- Ensure that either the Company Email or Preferred Contact Email field is populated.
- Include the Create User Automatically column and set the value to
1for the required rows. - Include the Create User Permission column and set it to
1to apply default access restrictions. - Upon successful import, the system will automatically create and link the Users for all applicable Employee records.
Check Adding Users to learn how to create users and add permissions.
3.3 Joining Details
Section titled “3.3 Joining Details”The Joining Details of the Employee such as the Offer Date, Confirmation Date, Contract End Date, Notice (Days), and Date of Retirement can be captured.
3.4 Department and Grade
Section titled “3.4 Department and Grade”In a company, the Employees are usually grouped on the basis of Department, Grade, Designation, and Branch.
In the Department and Grade section, these details of the Employee can be saved. In the ‘Reports to’ field, the person to whom the Employee has to report his duties to can be captured.
3.5 Approvers
Section titled “3.5 Approvers”In the Approvers section, you can set the default approvers for the Employee’s requests. The approver set here is fetched automatically when the Employee submits a request, and the request document is shared with that User so they can access and act on it.
- Leave Approver: fetched into the Leave Approver field of the Employee’s Leave Application. The approver is notified when the application is submitted, and only this User can approve or reject it.
- Expense Approver: fetched into the Expense Approver field of the Employee’s Expense Claim. The claim is shared with this User for approval.
- Shift Request Approver: fetched into the Approver field of the Employee’s Shift Request.
If an approver is not set on the Employee, the approver list is fetched from the Employee’s Department instead.
3.6 Attendance Details
Section titled “3.6 Attendance Details”The Default Shift field in the Employee document defines the employee’s regular shift and is used when no specific Shift Assignment is available for a particular date.
The Attendance Device ID (Biometric/RF Tag ID) field stores the employee’s unique ID assigned in a biometric or RFID attendance device. This ID is used to identify the employee when synchronizing attendance records from the device.
3.7 Salary Details
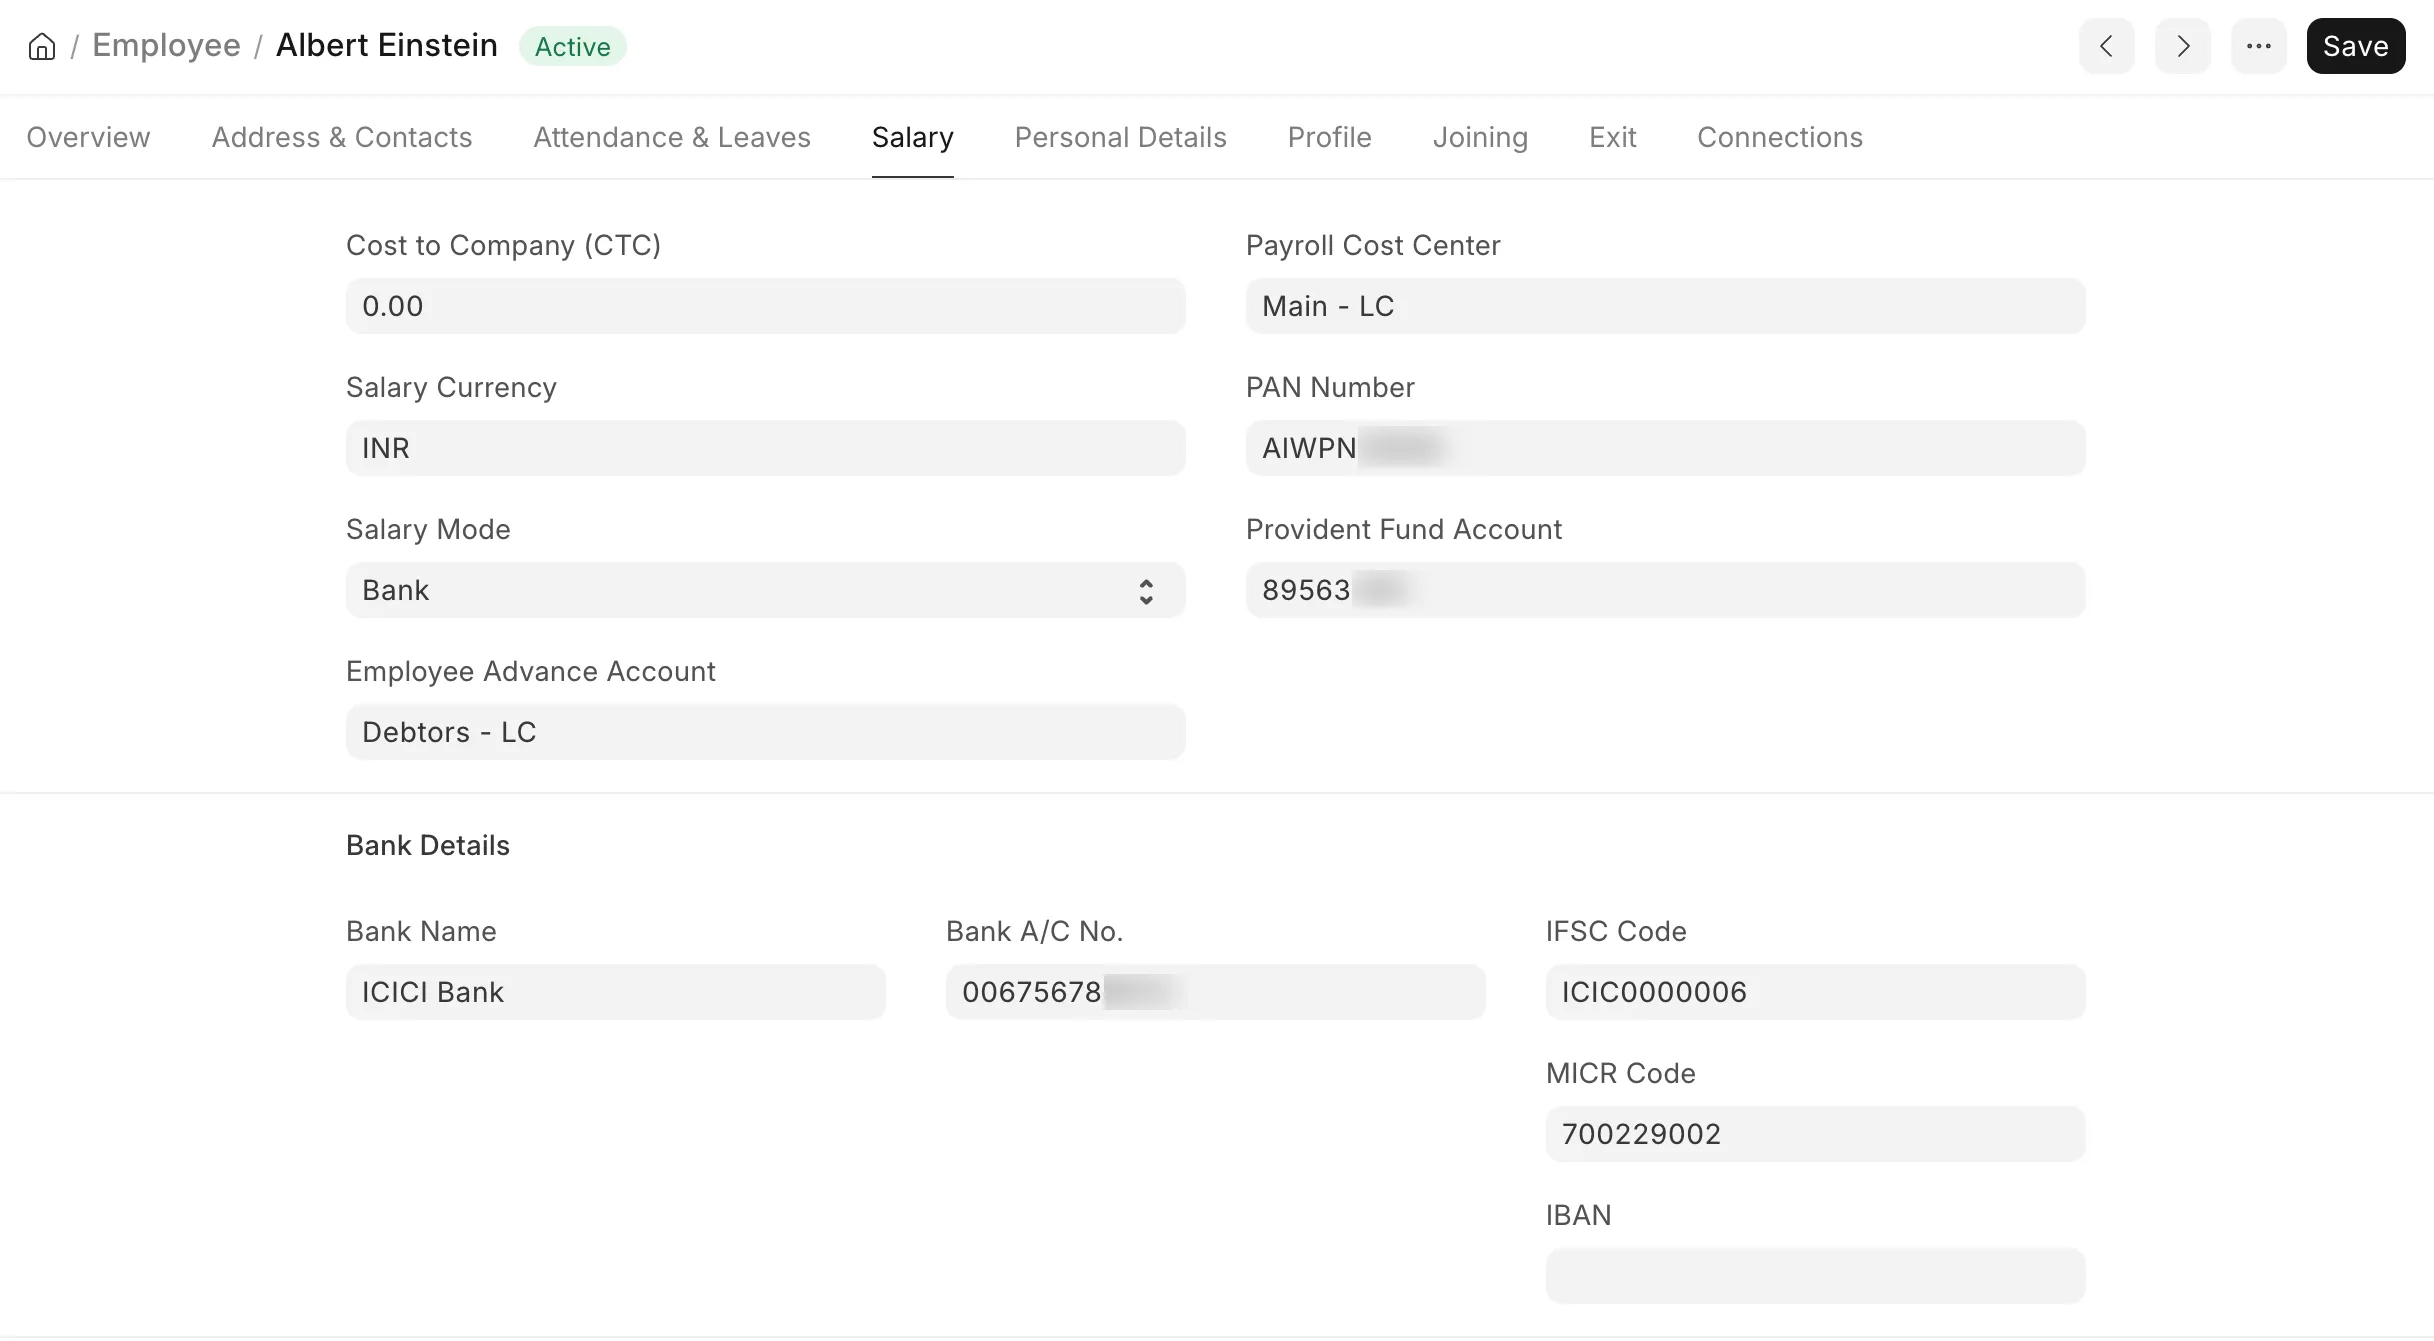
Section titled “3.7 Salary Details”Here, the mode of salary payment, i.e. through Bank, Cheque, or Cash, can be selected. If Salary Mode is set to Bank, the Bank Name, Bank A/C No., and IBAN fields are displayed in the Bank Details section. These details are fetched into the Employee’s Salary Slip. The Salary Mode is set as the Mode of Payment, while the Bank Name and Bank A/C No. are fetched into the Salary Slip. These details are used while making the bank entry for salary payment through a Payroll Entry.
The Payroll Cost Center is used by Payroll Entry to book the Employee’s salary against a specific Cost Center in the accounting entries. If it is not set, the Cost Center is fetched from the Employee’s Department.
The Employee Advance Account is used as the default advance account while creating an Employee Advance for the Employee. If it is not set, the default Employee Advance Account from the Company is used.
3.8 Contact Details
Section titled “3.8 Contact Details”Employee’s Contact information such as Mobile Number, Current and Permanent Address, Personal and Company Email ID can be captured here. In the Preferred Email ID field, either the the Company Email, Personal Email or User ID of the Employee can be selected depending on the user’s preference.
The Preferred Email is used as the Employee’s contact email while creating a User from the Employee record, and is the address used for HR notifications and alerts sent to the Employee.
3.9 Personal Details
Section titled “3.9 Personal Details”Personal Details of the Employee such as Family Background details like name and occupation of parent, spouse and children, Passport Details including date and place of issue, Health Details like height, weight, allergies, medical concerns, etc. can be saved.
3.10 Educational Qualification
Section titled “3.10 Educational Qualification”Here, the Educational Details such as School/University, Qualification, Level and Year of Passing of the Employee can be saved as shown below:
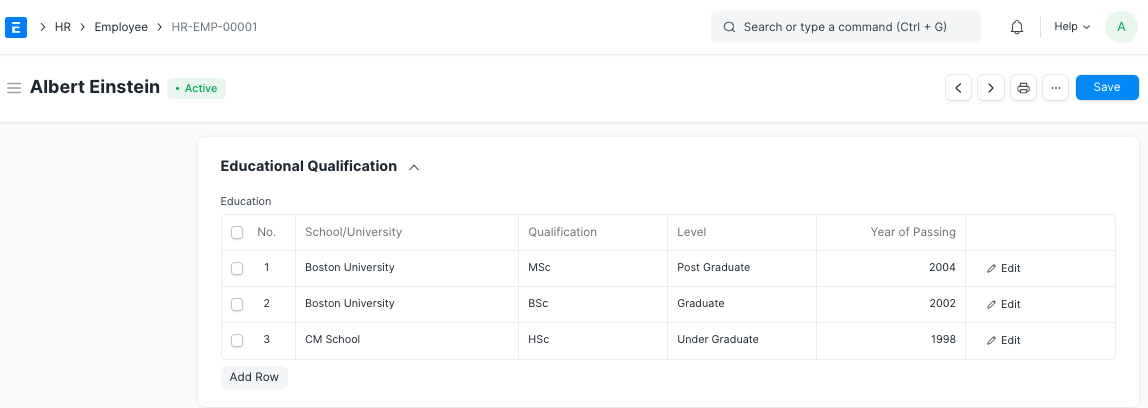
Additionally, details such as Class/Percentage and Subjects can also be saved by clicking on the downward arrow in the Education table.
3.11 Previous Work Experience
Section titled “3.11 Previous Work Experience”Just like Educational Qualification, an Employee’s Previous Work Experience can also be captured in the External Work History table as shown below:
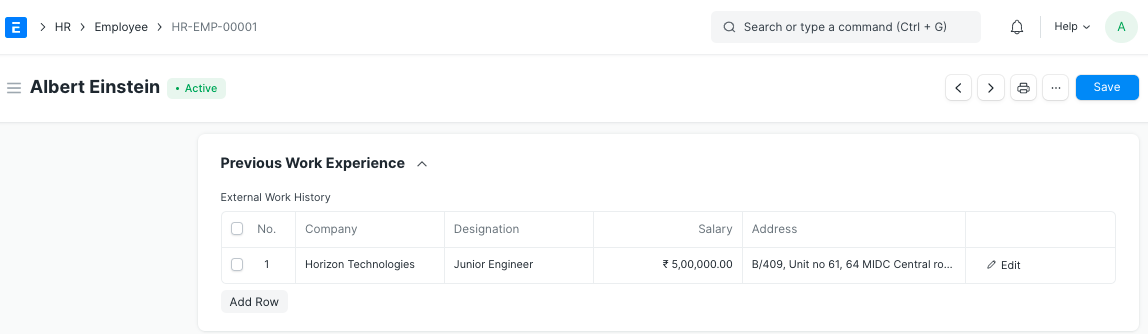
Additionally, details such as Contact of the previous company and Total Experience in years can also be saved in the External Work History table.
3.12 Exit
Section titled “3.12 Exit”Exit details of the employee (if any) such as Resignation, Exit Interview and Leave Encashment details can be saved. When the status of the Employee is set to ‘Left’, it is mandatory to fill the Relieving Date.
Note: Once the Employee status is set to ‘Left’, that particular Employee master won’t be accessible in further transactions.
3.13 Additional Features
Section titled “3.13 Additional Features”Some additional features included in the Employee master are as follows:
- Emergency Contact
- Health Insurance
- Personal Bio
- History in the Company